Syllabus (2019)
This is a 7-week, 2-point course at ITP during the second half of the Spring '19 semester.
Instructor: Andy Sigler
Email: andrewsigler1@gmail.com
Class Time: Tuesday mornings, 9:00-11:30
Office Hours: 20 minutes Sign up here
Grading:
ITP is pass/fail, but you do still get graded. To pass, students must document and show work and progress through out the semester, and cannot miss more than 2 classes without prior notice.
- Attendance and Participation: 30%
- Blogging and Assignments: 30%
- Final Project: 40%
Spring 2019 Students
Class 1
March 26
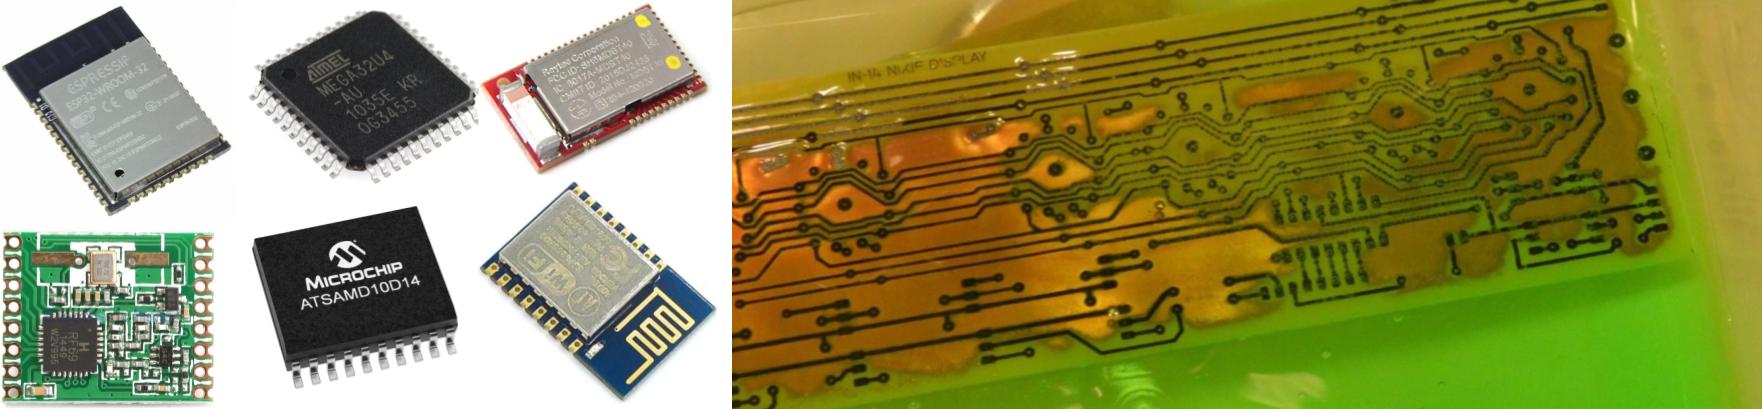
Arduino Uno Breakdown
Slides from class on breaking down the Arduino Uno
[Guide] → Breadboarding an ATmega328
- Use this Arduino core to program ATmega328 with internal 8MHz
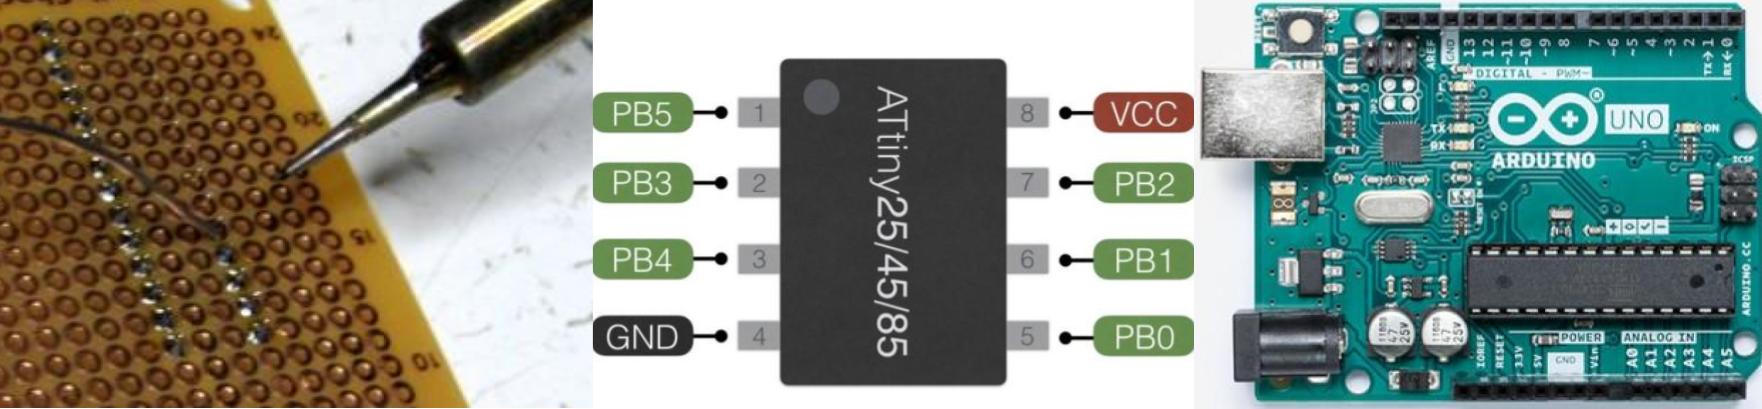
Programming ATtiny85
Slides from class on programming the ATtiny85, and soldering a programming jig for it
[Guide] → Programming an ATtiny85
Homework for next class
- Finish soldering your jig
- Breadboard an interaction, using the ATtiny85. You can use any sensor and output you want
- Create a section on your website for this class, and send me the link
- Post a video of your interaction to your website
- Install Autodesk's Eagle CAD (the free version)
- Order everything you don't already own from the "required" section of tools/materials
- Bring your tweezers to next class
Class 2
April 2
Download Repository
For this class, please download the Homemade Hardware github repository. It contains examples, a parts library, and DRC files.
If you use git, you can instead clone the repository:
gits clone https://github.com/andySigler/homemade-hardware.git
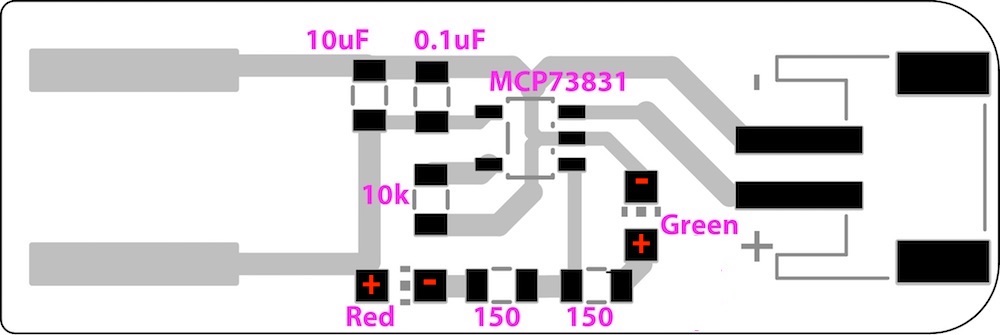
SMD Soldering
In class, we'll be assembling some Lipo Battery charging boards, which can plug directly into a USB-A port.
The design files are located in:
- homemade-hardware/projects/lipo_charger
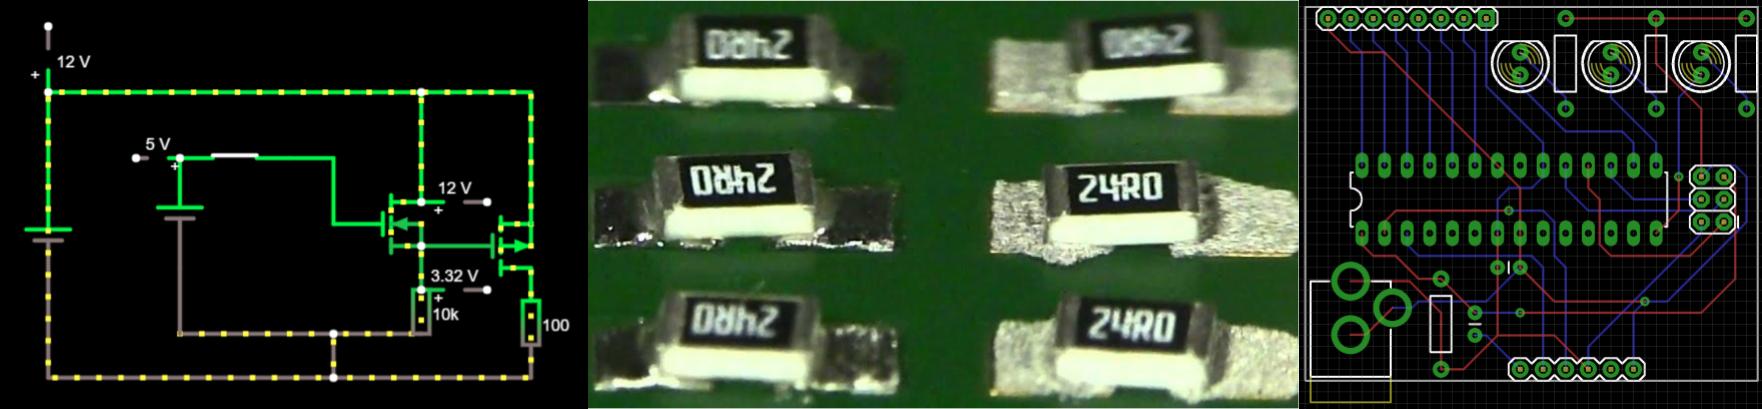
Eagle CAD: Board Design
[Guide] → Eagle Setup
[Guide] → Eagle Board Design
Use the guide to finish up your homework for next week (finishing the Eagle designs). This guide contain descriptions for all the commands you will need to do basic trace routing, layout, and cuttout.
Homework for next class
-
Finish designing the Eagle Board files from class:
- homemade-hardware/projects/eagle-board-design/1_attiny85_jig
- homemade-hardware/projects/eagle-board-design/2_attiny85_LED
- homemade-hardware/projects/eagle-board-design/3_attiny85_transistor
- Make sure to have endmill bits next week. You will not need them during next class, but they are required your have for the assignment due week 4.
- Nominate some 15-character phrases to the marquee sign document. We will vote on our favorite phrase next week, so think of some good ones!
Class 3
April 9
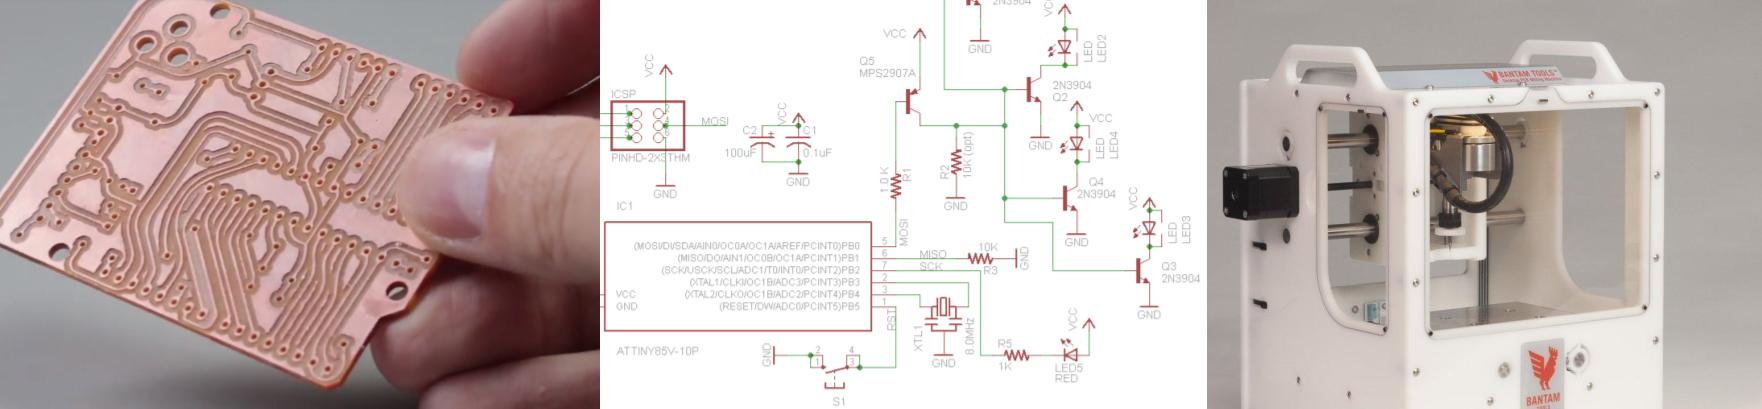
Eagle CAD: Schematic Design
[Guide] → Eagle Schematic Design - 1
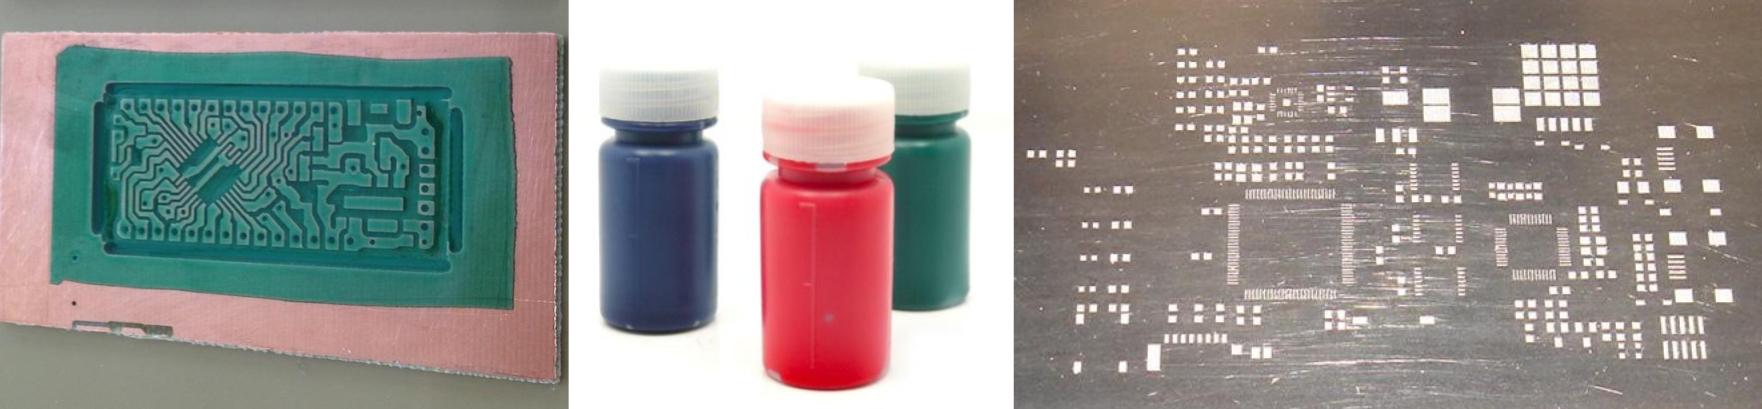
Milling PCBs on Bantam
[Guide] → Bantam Setup
[Guide] → Bantam Milling - 1
Homework for next class
-
Finish the Marquee Letter PCB
- Design your letter PCB in Eagle schematic and board files
- Mill your letter PCB on the Bantam milling machine
- Solder your SMD parts (you can use tweezers or the SMT station)
- Test that your circuit board has no errors
- Program your ATtiny85, so that the sensor controls the LED PWM in any way you like
- Post a video of your PCB working (with the sensor), and include the video and your design files in your blog post
- Bring your working PCB to next class. I will take each PCB and assemble the full Marquee sign.
Class 4
April 16
Recommended Parts
Go through the guide below to see what packages are small yet still big enough for us to make. Also use this list to come up with a final BOM.
[Guide] → Recommended Parts
Finishing up Eagle
These two Eagle guides contain the last information you will need on Eagle to move forward. There are details about organizing a schematic, symbols, ground planes, and double-sided boards.
[Guide] → Eagle Schematic Design - 2
[Guide] → Eagle Board Design - 2
Homework for next class
- Create a bill of materials (BOM) for your final PCB
- This list of parts should contain how you plan to breadboard (what breakout are you using)
- Post the BOM and project description to your blog
Class 5
April 23
Sourcing Parts
How to search for, filter, and select parts from Digikey and Mouser.
Bantam: Double-Sided and SVGs
Milling a two-sided copper plate on the Bantam, as well as using SVG files to mill greater detail and images.
[guide coming soon]
Soldering Vias and Programming Wires
How to connect the top and bottom layers of a via, and soldering on programming wires to test pads.
[guide coming soon]
Homework for next class
- Order (today or tomorrow) your breadboarding parts and any PCB parts for your final that we don't have at ITP
- Read through the guide on redesigning online circuits.
- Create your breadboarded project, and bring a working breadboard to next class
- Design your final project's Eagle schematic and board file. During next class, I will be able to review with you the schematic and breadboard.
Class 6
April 30

In-Class Work Session
Class 7
May 7

Final Presentations