Bantam Setup
This guide describes how get the Bantam milling machine setup and ready to mill a PCB.
This guide must be followed every time using the Bantam milling machine. You will always need to do these steps before using the machine.
- Power On and Connect
- Clean the Rails
- Locate the Probe Bit
- Locate the Bracket
- Tape Down the PCB
- Enter PCB Board Shape
- Probe PCB Thickness
The Bantam app can be downloaded at this link, for macos or Windows. Download and open.
Power On and Connect
Power on the Bantam milling machine by first connecting the power adapter, and flipping switch in the back of the machine.
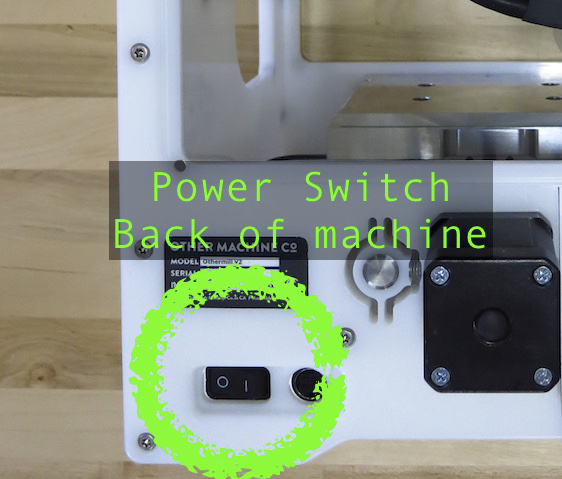
When powered on, the lights inside will turn on.
To connect your computer, plug in the USB cable between the machine and your computer. The Bantam software will automatically connect to the machine
When you first connect to the machine, the sofware tells you that you mush "Home" the machine.
"Homing" is how the machine can know where it is. "Homing" is when all the axes (X, Y, and Z) press against 3 small switches (one switch for each axis).

If a motor (X, Y, or Z) tries to move but then can not move (like if something blocks it or if the machine is too dirty), then the motor is "skipping". The motor will make a loud noise, and not move.
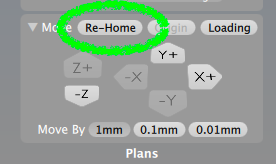
If a motor ever "skips", the machine will not know it happened. There are no sensors to detect a "skipping" motor. So, the position will be wrong until you "Re-Home" the machine.
Clean the Rails
The biggest problem with the machine, is the that the Z axis (up/down) will get momentarily stuck while quickly moving upwards. The solution is to spend a few minutes before you use the machine, and clean the Z axis rails.
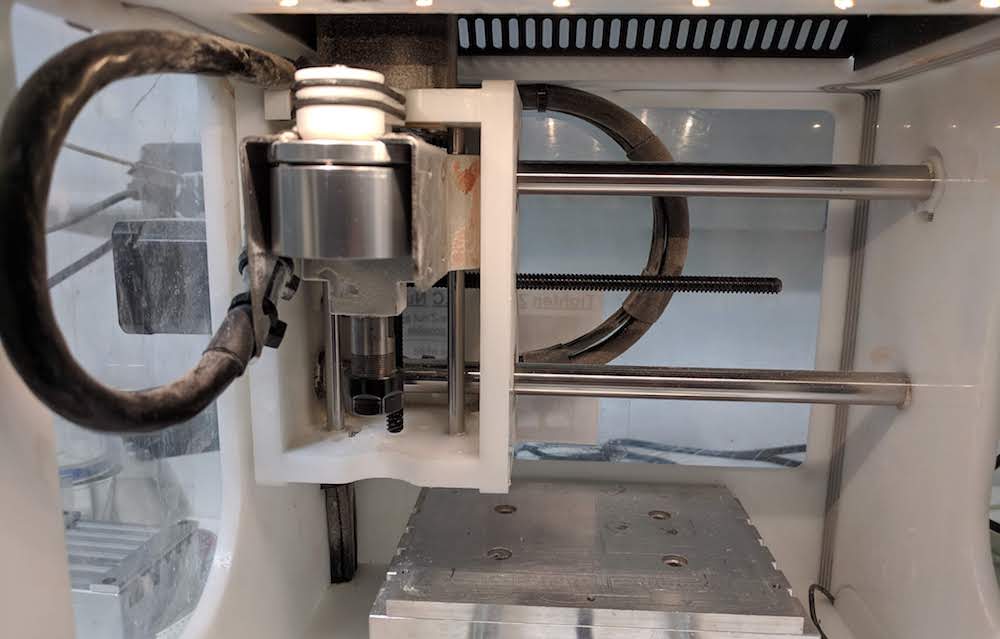
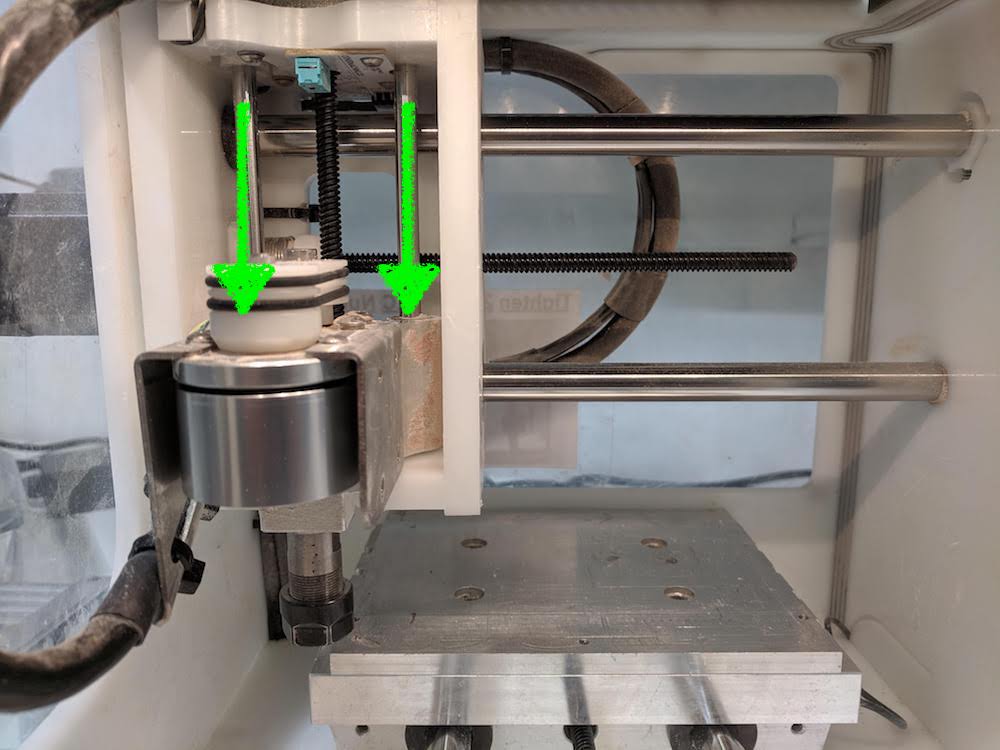
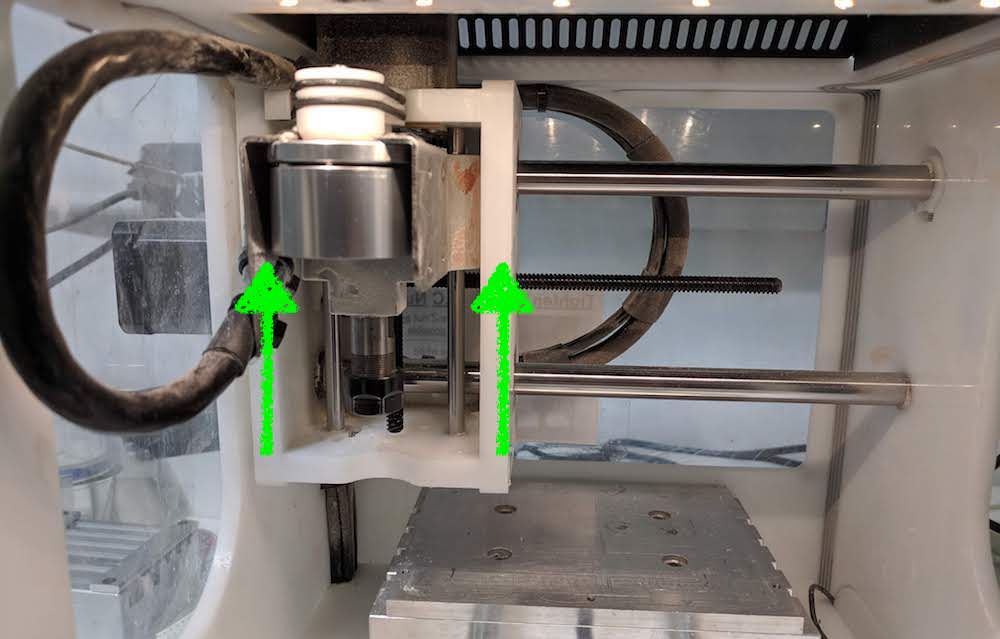
First, you will need to lower the Z axis down as far as it can go. Make sure to do this with no bit inside the machine yet.
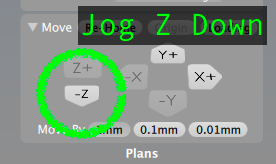
Pressing the Z down button many times, and the Z axis on the machine will eventually get to the bottom.
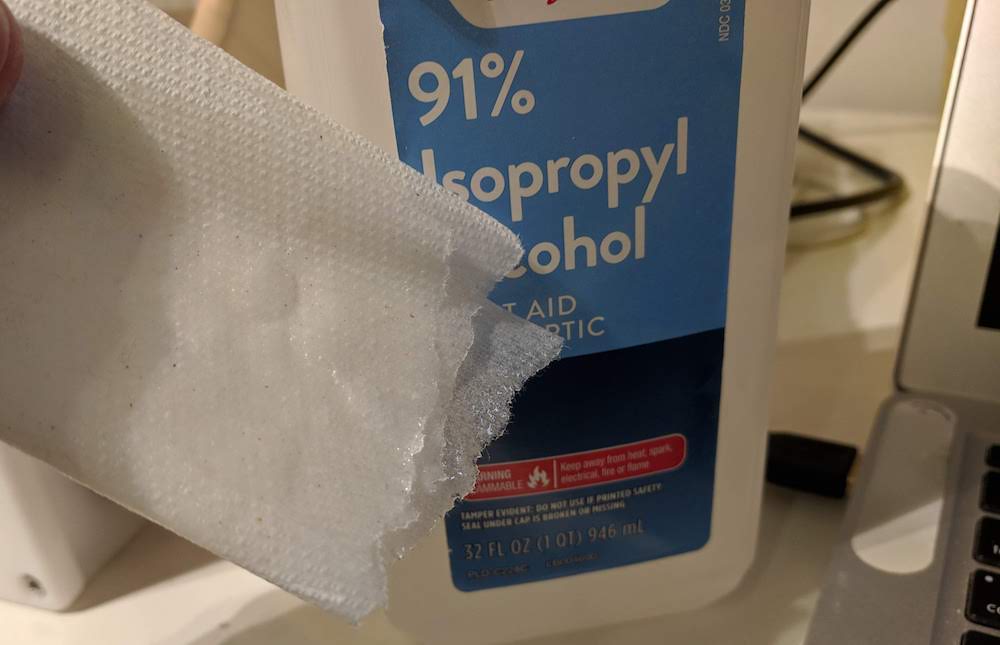
We'll be using 91% isopropyl alcohol, you can get at any pharmacy. Soak a paper towel in some alcohol.
NEVER USE ANY GREASE OR OIL
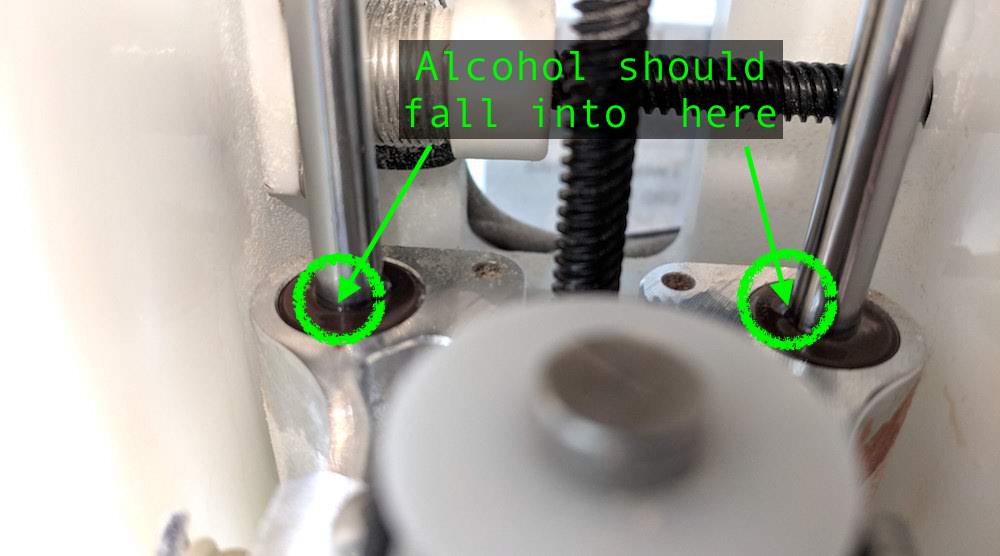
With the Z axis lowered all the way down, run the exposed silver rails with the alcohol soaked towel.
Clean both the left and right silver rails. Try and clean all the way around the rail if you can.
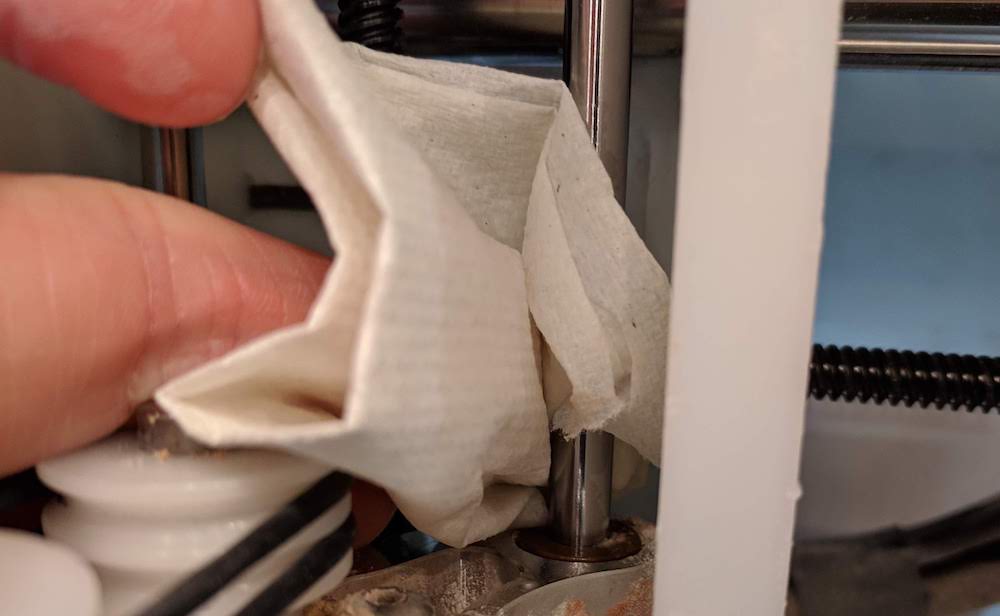
When you are down, squeeze some more alcohol at the bottom of the silver rail, where it enters the hole (the bearing).
The secret is that you want a lot of alcohol on the rails, so that when the Z axis moves upwards, all that alcohol gets inside the bearing, and cleans inside there too.
Finally, press the "Re-Home" button in the software, and the Z axis will move up. You want The alcohol to be getting inside the bearing, and cleaning more of the silver rails.
If the Z axis moves up smoothly, then you are ok to move on the next step.
However, if the Z axis makes a grinding sound while moving up, or it stops moving when trying to go up, then repeat the cleaning steps again.
Locate the Probe Bit
At the top-right corner of the app, in the Configure box, click the "Change" button to start changing your tool.
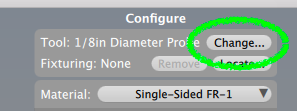
The machine will move to the center, so it is easy for you to access the collete (where the bit is inserted).
I'll be using a 1/16" endmill as my probe bit. Try and use the thickest bit you can, because it is easy to break small bits when putting them in backwards.

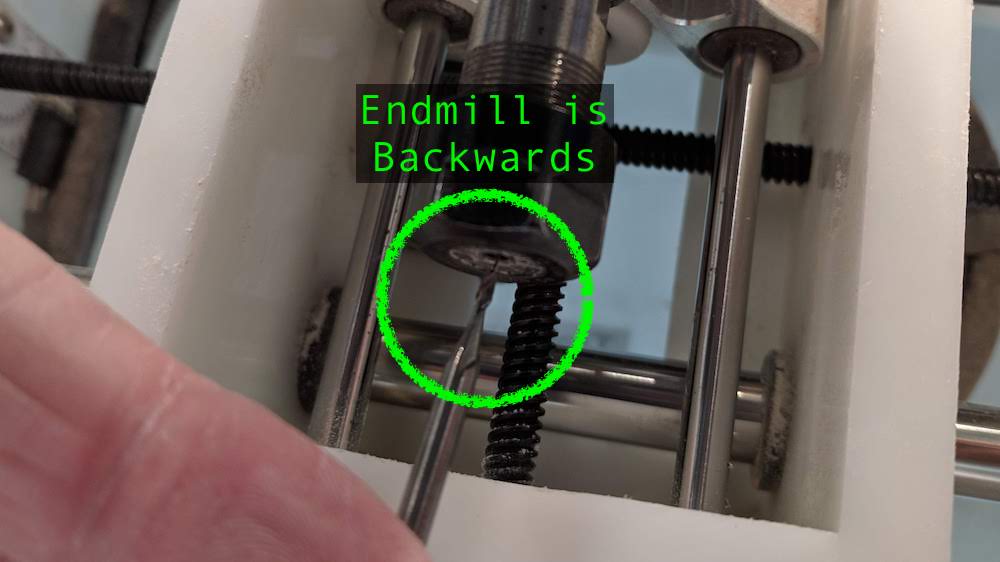
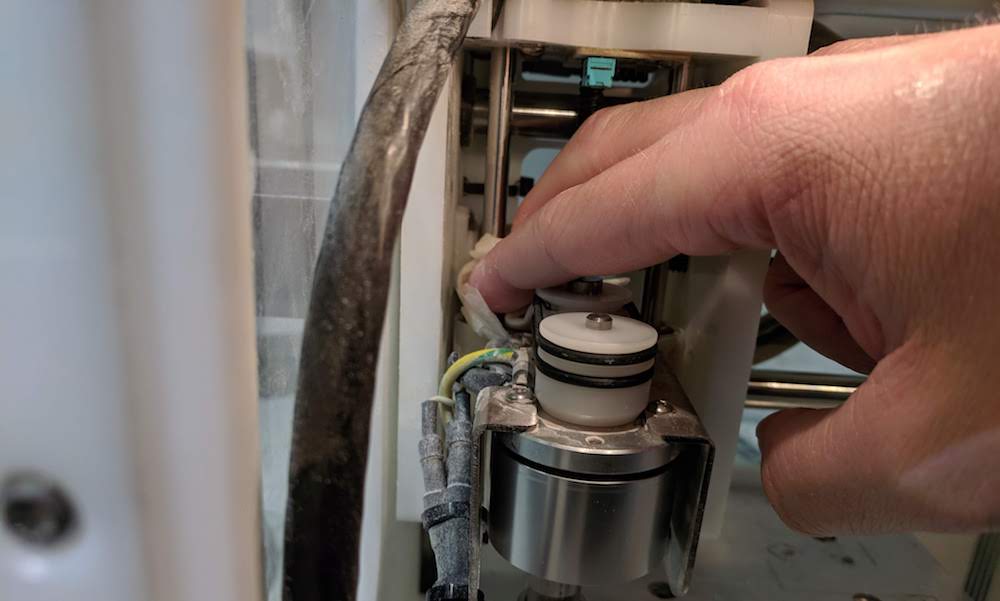
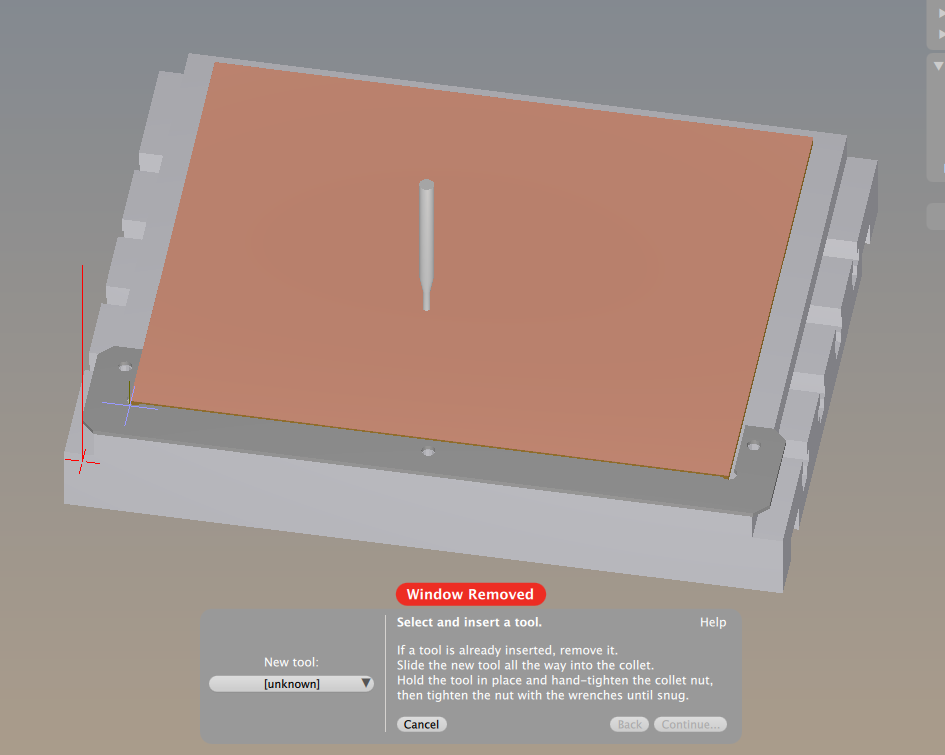
Insert the bit into the collet, with the cutting end facing up.
Be very CAREFUL not to BREAK your BIT when inserting backwards.
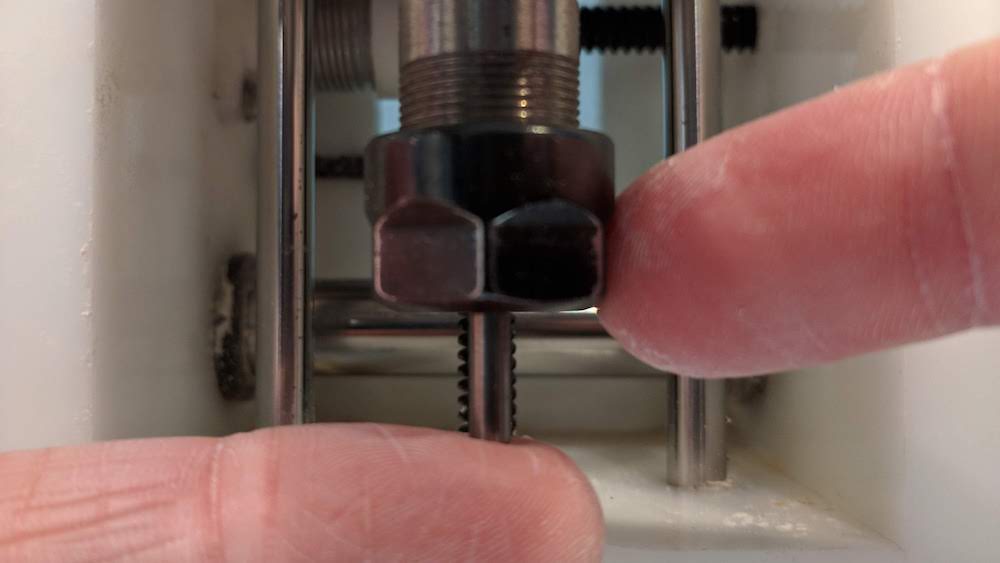
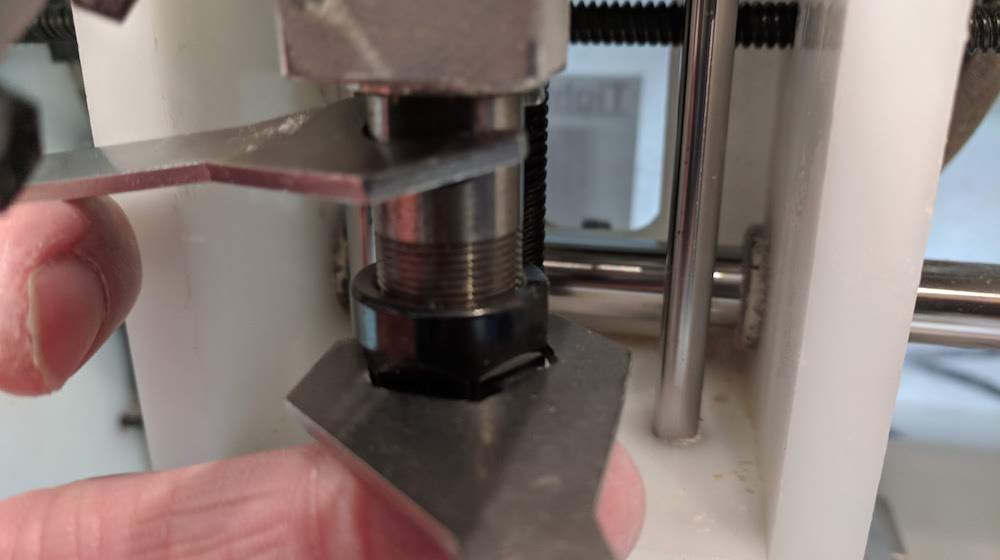
Tighten the collet, first with your fingers, and then with the wrenches.
Try to keep a FINGER underneath at all times, so the bit does not FALL OUT.
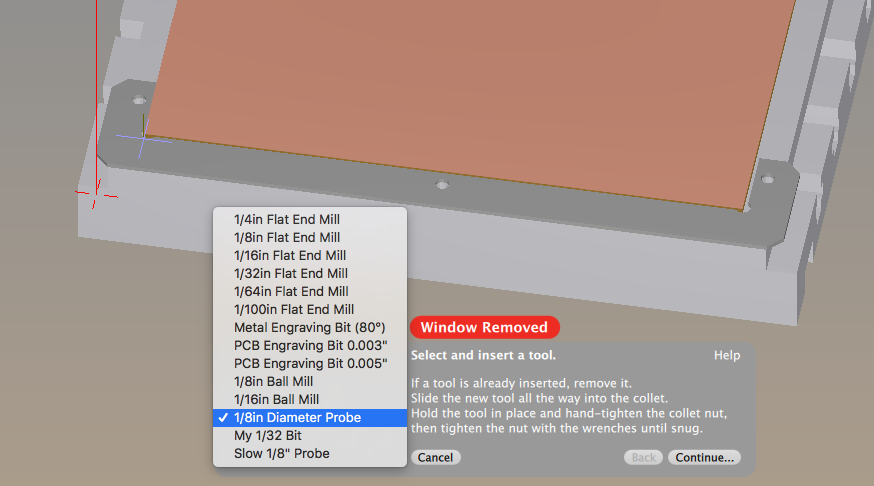
In the app, select the "1/8in Diameter Probe" in the menu. Then, click "Continue".
When you are ready, the bit will slowly move down until it touches the aluminum bed. Because it MUST touch the aluminum bed, make sure there is nothing that will block it.
Press the button in the app to start the locating movement.
Above is a video showing a successful tool location.
The Z axis will move down, until it touches the aluminum bed. Then, it will quickly rise to the top, and move back to the home position.
Below is a video showing a BAD tool location. Listen to the sound it makes when it is trying to go up...
If this happens to you, you need to clean the rails. Go back to the beginning of this tutorial to see how to clean the rails.
Locate the Bracket
The bracket is used to align our PCB, and to prevent it from moving while we cut it.
Similar to how we touched the aluminum bed to locate our tool, we also need to touch the bracket. This will align the bracket with the Bantam software.
In the top-right corner, in the Configure box, press the "Locate" button in the Fixturing section.
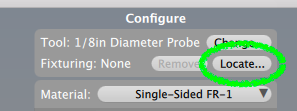
If you are not able to click the "Locate" button, then first press the "Remove" button, and then after press the "Locate" button.
The machine will now use the 1/8in Diameter Probe to locate the bracket's edges and corners.
Tape Down the PCB
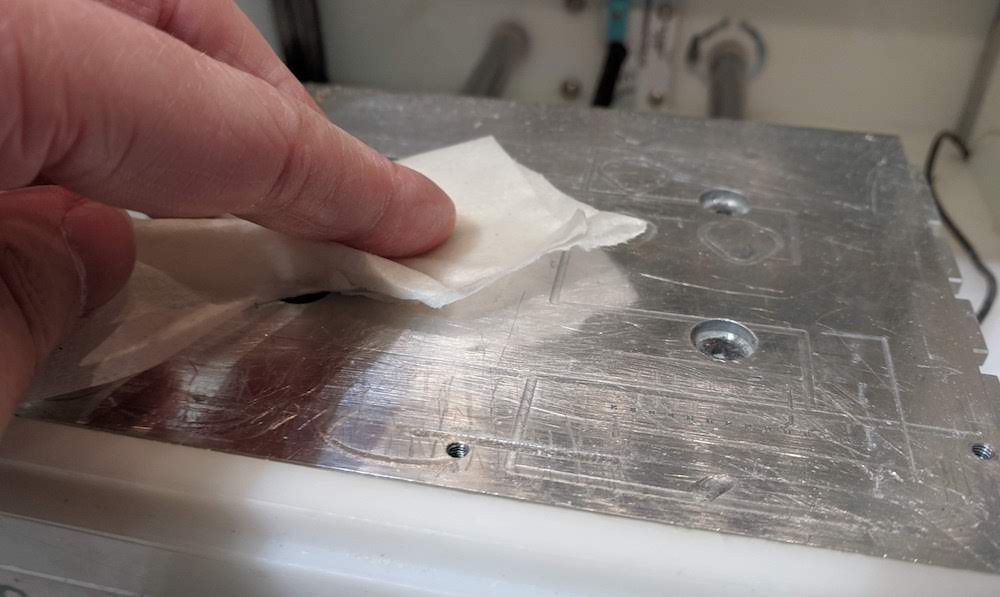
First, we need to clean both the PCB board and the machine's aluminum bed. Again, we will use 91% isopropyl alcohol.
You only need to clean the side of the PCB board that you will be putting tape on.
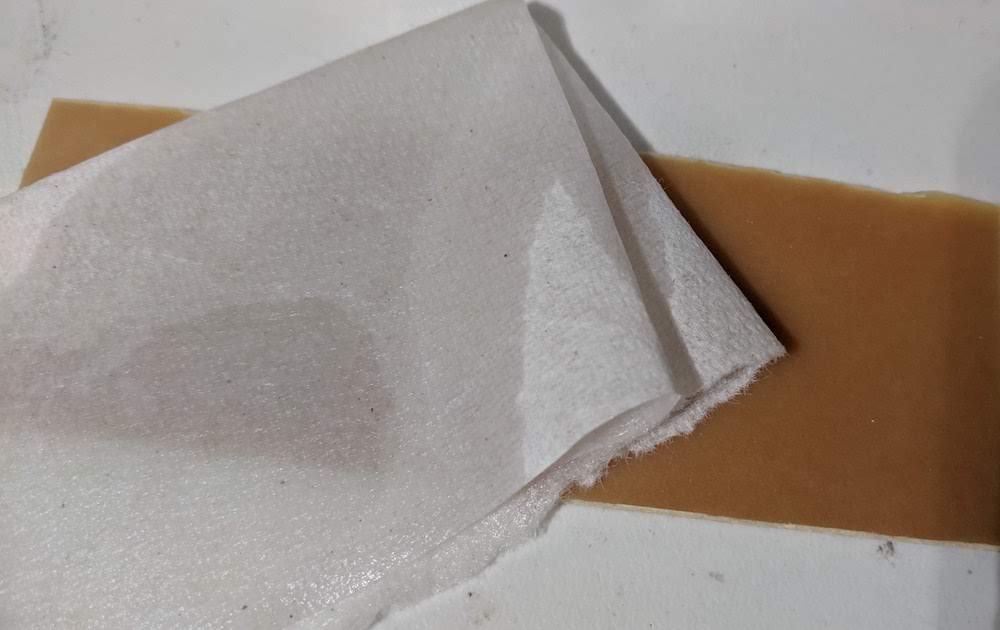
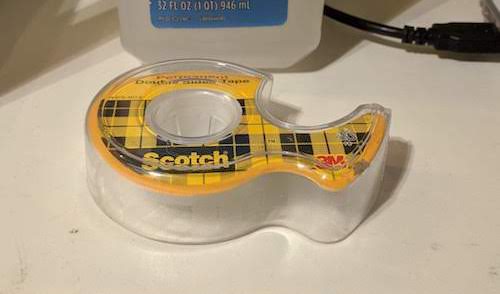
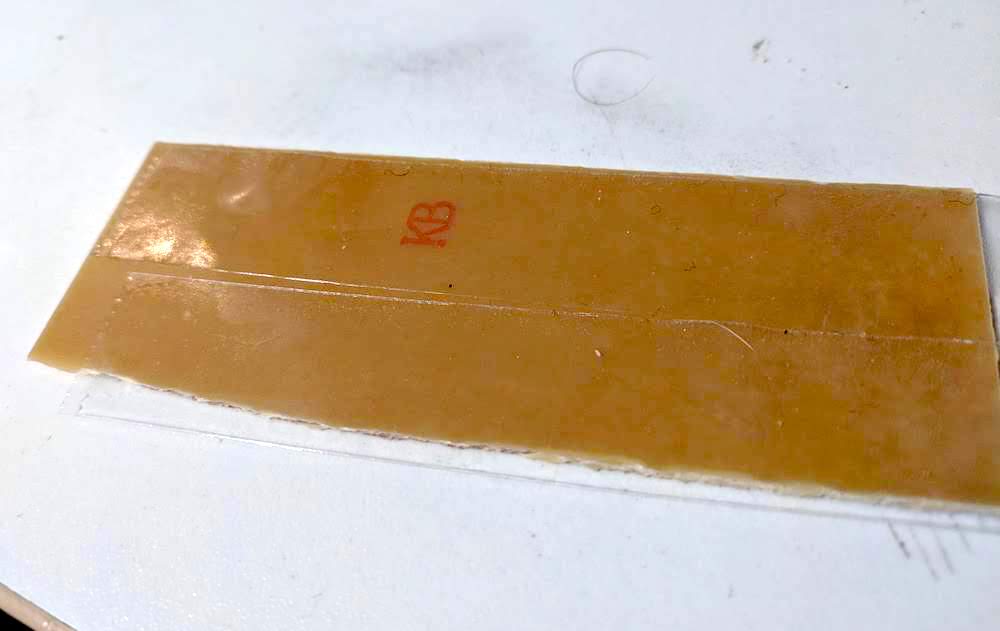
Next, use double-sided tape (the permanent kind) and cover the entire bottom surface of the PCB board.
Try and keep the tape as flat as possible, no bumps or bubbles or bends.
Now, stand up.
With one hand, press down HARD onto the plate. You want to try and press the tape evenly, all over the board, so that it is flat and very stuck down.
Enter PCB Board Shape
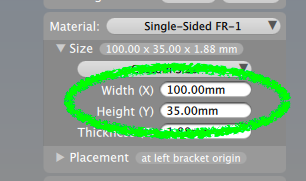
Now that the PCB board is attached, we want to make sure the software knows how big it is.
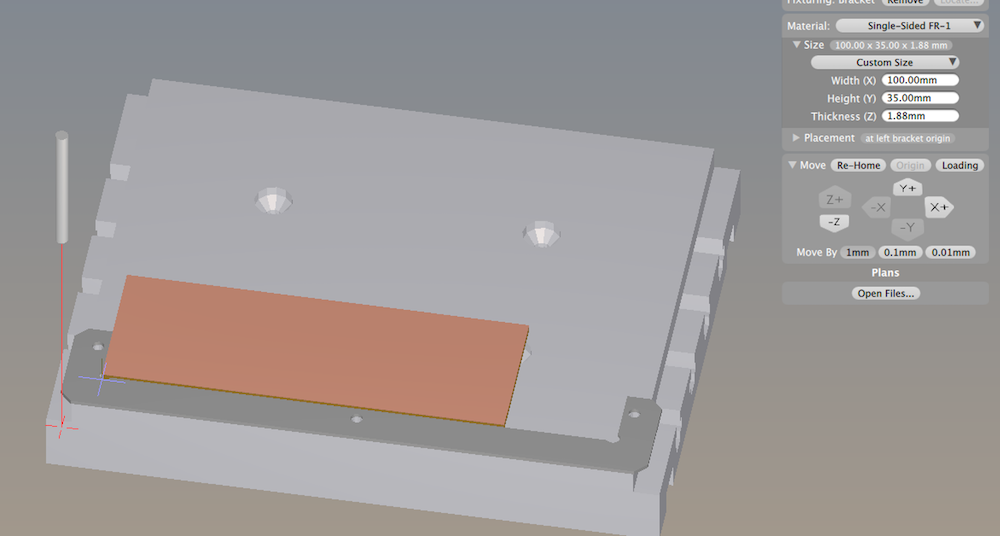
In the Material box, you can change both the Width and Height of the PCB board in software, so that it matches the shape of you board in real life.
Probe PCB Thickness
Lastly, we need the thickness of our PCB board. This thickness must be very, very accurate, because we are removing such tiny layer of copper.
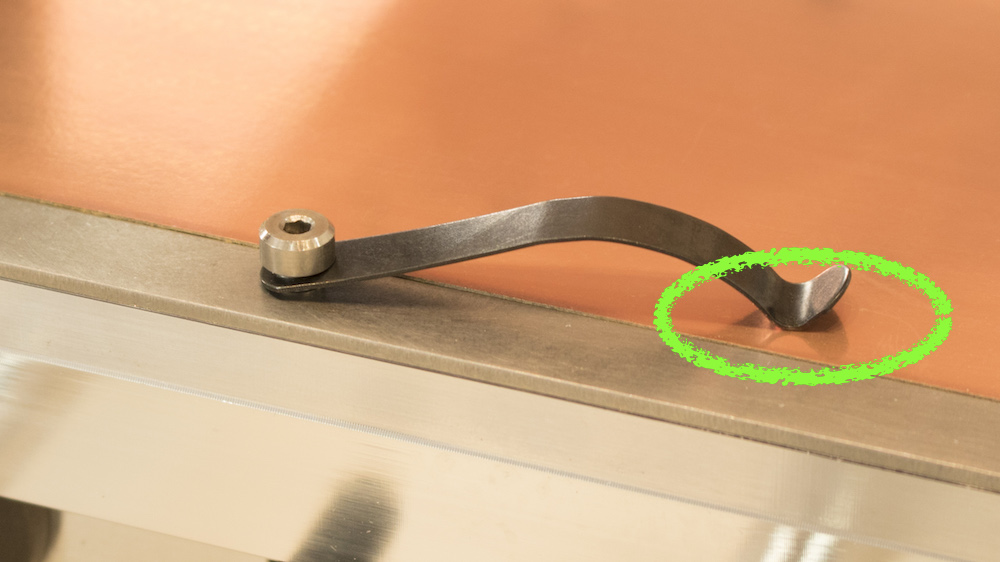
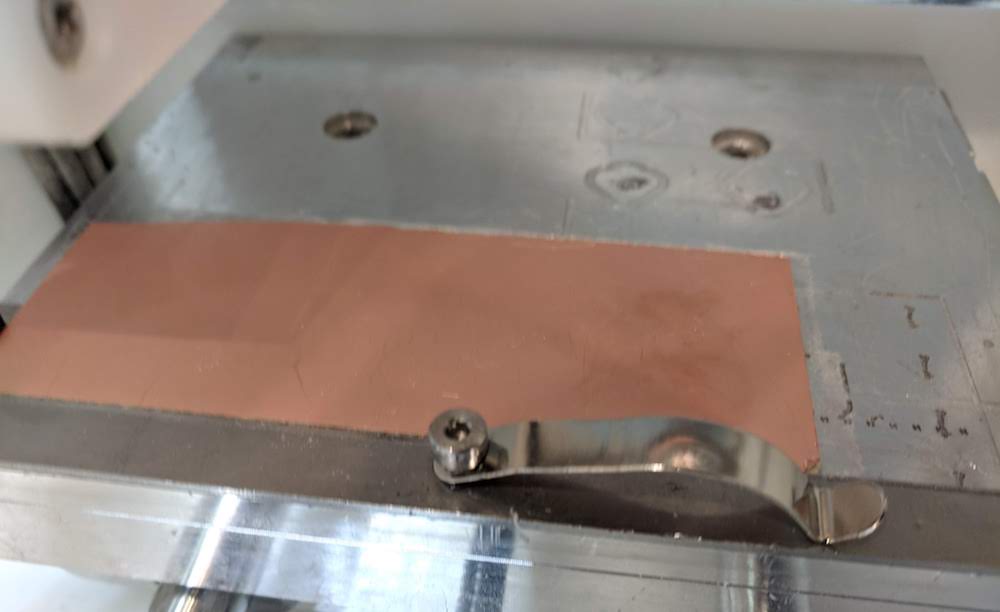
We will use small metal piece that is attached to the bracket. Rotate it so that it is pressing against the PCB board's copper top. Now, the copper top is electrically connected to the aluminum bed. (Wow, so cool!!!)
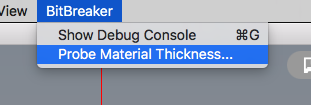
With the copper board and aluminum bed electrically connected, start the procedure by going up to your screen's top menu bar, and going to BitBreaker -> Probe Material Thickness...
The machine will move the probe bit to the center of the bed. Use the movement buttons (or jog buttons), to adjust the machine's X and Y axis so that the bit is directly over your PCB board.
Try to place the bit directly over the are where you think your design will be. Then, it will be the most accurate while cutting.
When you are ready and the bit is over copper, press the button to start.
When it finishes, it will show you the thickness that it measured. In the picture below, it is saying it measured 1.88mm, and it is asking me if I trust it.
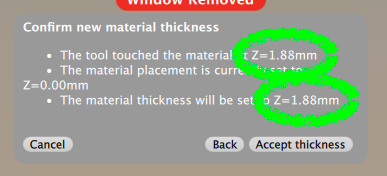
Our PCB boards are around 1.4-1.9 millimeters thick (with tape underneath). If you see a number that is not in the 1.4-1.9 mm range, then you might want to "Re-Home" and try again.
If you accept the thickness, then the "Material" thickness will now be set (to 1.88 mm).
You are now ready to load your Eagle design and start milling. Read the Bantam Milling - 1 guide here.